
The ability to evaluate future workloads and utilization in order to optimize task assignment across the organization requires that the system forecast expected work in the future. Arrow calculates this future work leveraging project tasks that the resource been allocated to with the remaining work over the duration of the task.
That is, a resource’s commitment on a day is calculated as (Task Hours Remaining * Task Allocation) / Task Duration.
For each task in the system Arrow creates a forecasted, or expected, Arrow calculates the hypothetical time entries by resource on an hourly basis. For example. If a resource is assigned to a 20 hour task that is expect to last 5 days. The system will record 5 time entries (one for each day) of 4 hours each.
The forecast job can be setup hourly, daily or weekly. We recommend running the job hourly to provide the most real-time updates for your users.
SETUP THE SCHEDULED FORECAST JOB HOURLY
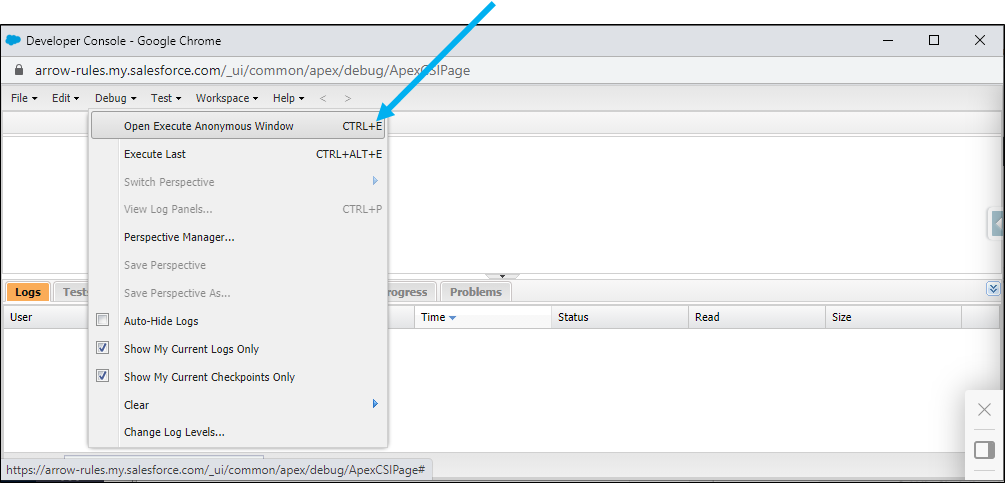
- Click the Setup icon in the upper right corner and navigate to Developer Console.
- From the Developer Console select Debug > Open Execute Anonymous Window.
- In the Execute Anonymous Window enter one of the following scripts based on how often the
Schedule Every Hour:System.schedule('Forecast Project Time Entries Hourly', '0 0 * * * ?', new apollo.ArrowScheduleForecast());
Schedule Every Hour 5AM-8PM:System.schedule('Forecast Project Time Entries Business Hours', '0 0 5-18 ? * * *', new apollo.ArrowScheduleForecast());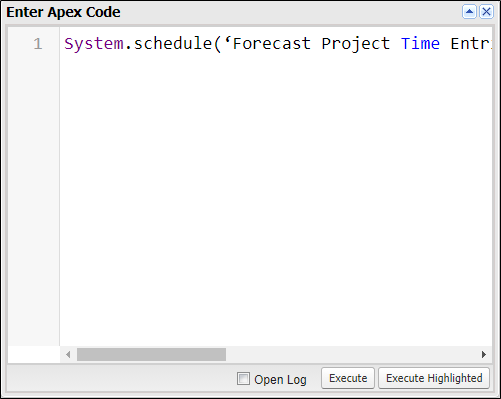
- Click Execute.
- Close the Developer Console.
SETUP THE SCHEDULED FORECAST JOB DAILY / WEEKLY
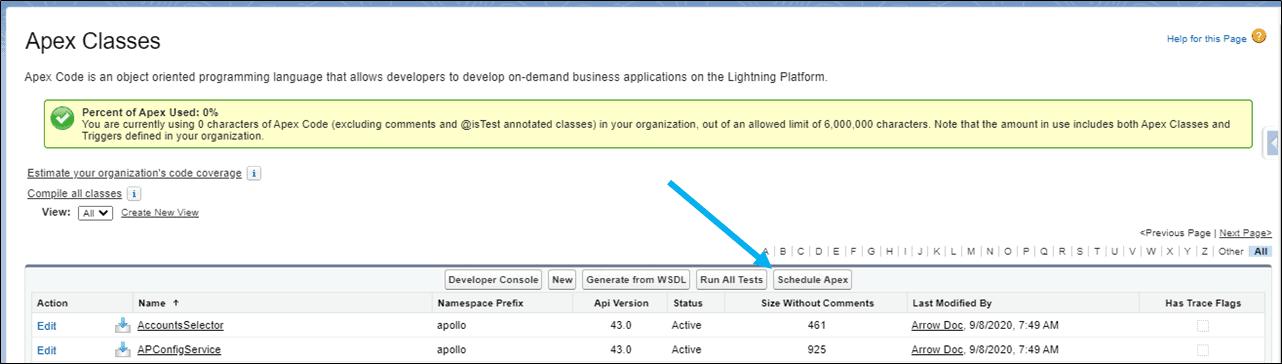
- From the Setup menu navigate to Custom Code > Apex Classes.
- Click Schedule Apex.
- Create a batch job that will run the Time Entry Forecast generation.
- Enter “Forecast Time Entry” as the Job Name.
- Select “ArrowScheduleForecast” as the Apex Class.
- Set the schedule for the frequency of the job to Weekly, recurring on every day of the week.
- Set the Start Date and End Date as today and a date far into the future, relatively.
- Set a Start Time for when the job should run to produce the forecasted time entries for the organization.

- Click Save.
Supporting Salesforce Docs
Schedule apex jobs


